2022. 11. 3. 15:23ㆍcheckIn 프로젝트(SpringBoot)
1. 레이아웃 구성 및 부트스트랩 템플릿 다운받기
- 원하시는 부트스트랩 무료 템플릿을 찾습니다.
(해당 글에서는 startbootstarp 사이트 에서 sb-admin-2 템플릿을 받았습니다.)
- 레이아웃은 아래 그림과 같이 구성하겠습니다.

- 사이드바, 상단, 하단은 공통으로 모든 페이지에서 사용되는 곳이며, 가운데 content 부분은 각 페이지마다 바뀌는 곳이 됩니다.
- 디렉토리 구조는 아래 그림과 같이 구성하였습니다.
- templates 아래에 layout 디렉토리를 생성하고 그 아래에 fragments 디렉토리를 생성합니다.
- fragements 디렉토리는 공통으로 사용하는 각 부분 구성요소의 파일을 저장하겠습니다.
- layout 디렉토리 안에 layout.html은 fragments의 파일들을 하나의 layout의 파일로 사용되도록 하겠습니다.
- layout.html
<!DOCTYPE html>
<html lang="ko" xmlns:th="http://www.thymeleaf.org" xmlns:layout="http://www.ultraq.net.nz/thymeleaf/layout">

    <!-- 공통 헤드-->
    <th:block th:replace="/layout/fragments/head :: headFragment"></th:block>

    <body id="page-top">
        <div id="wrapper">
            <!-- 사이드바-->
            <th:block th:replace="/layout/fragments/sidebar :: sidebarFragment"></th:block>

            <div id="content-wrapper" class="d-flex flex-column">
                <div id="content">
                    <!-- 상단바-->
                    <th:block th:replace="/layout/fragments/top :: topbarFragment"></th:block>

                    <!-- 본문-->
                    <th:block layout:fragment="content"></th:block>
                </div>

                <!-- 공통 하단-->
                <th:block th:replace="/layout/fragments/footer :: footerFragment"></th:block>
            </div>
        </div>

        <!-- 공통 스크립트-->
        <th:block th:replace="/layout/fragments/script :: scriptFragment"></th:block>
    </body>
</html>HTML
- 레이아웃을 구성하는 전체적인 틀입니다.
- 상단에 xmlns:layout="http://www.ultraq.net.nz/thymeleaf/layout" 으로 해당 파일을 기본 레이아웃으로 선언합니다.
- <th:block th:replace="/layout/fragments/head :: headFragment"></th:block> 은
/layout/fragments/head.html의 파일을 headFragment 이름으로 위치하겠다는 옵션입니다.
- 중간에 <th:block layout:fragment="content"></th:block> 은
해당 위치에 content라는 레이아웃 코드를 불러온다는 의미이며, 실제 page url에 따라 바뀔 부분이다.
참고!!!
아래 코드들은 이 글에서 사용한 템플릿에 있는 코드들이므로, 개발하시는 프로젝트에서 공통으로 사용되는 코드를 작성하시면 됩니다.
- head.html
<!DOCTYPE html>
<html lagn="ko" xmlns:th="http://www.thymeleaf.org">

    <!-- Head -->
    <th:block th:fragment="headFragment">
        <head>
            <meta charset="utf-8">
            <meta http-equiv="X-UA-Compatible" content="IE=edge">

            .... head 태그 코드 작성

            <link href="https://fonts.googleapis.com/css?family=Nunito:200,200i,300,300i,400,400i,600,600i,700,700i,800,800i,900,900i" rel="stylesheet" />
            <link th:href="@{/bootstrap/vendor/fontawesome-free/css/all.min.css}" rel="stylesheet" type="text/css" />
            <link th:href="@{/bootstrap/css/sb-admin-2.min.css}" rel="stylesheet" />

        </head>
    </th:block>
</html>HTML
- <head></head> 안에 작성된 공통 코드를 작성합니다.
- <th:block th:fragment="headFragment"> 은
headFragment의 이름으로 공통 레이아웃에서 해당 이름(fragment)을 호출하여 해당 코드를 호출하도록 합니다.
위에서 작성한 layout.html에서 <th:block th:replace="/layout/fragments/head :: headFragment"></th:block>에 해당합니다.
- script.html
<!DOCTYPE html>
<html lagn="ko" xmlns:th="http://www.thymeleaf.org">

<!-- 공통으로 쓰이는 script 파일을넣는다.-->
<th:block th:fragment="scriptFragment">


    <!-- Bootstrap core JavaScript-->
    <script th:src="@{/bootstrap/vendor/jquery/jquery.min.js}"></script>
    <script th:src="@{/bootstrap/vendor/bootstrap/js/bootstrap.bundle.min.js}"></script>

	.... 스크립트 코드 작성

    <!-- Page level custom scripts -->
    <script th:src="@{/bootstrap/js/demo/chart-area-demo.js}"></script>
    <script th:src="@{/bootstrap/js/demo/chart-pie-demo.js}"></script>

</th:block>
</html>HTML
- 공통으로 사용되는 script를 호출하는 코드를 작성합니다.
- top.html
<!DOCTYPE html>
<html lang="ko" xmlns:th="http://www.thymeleaf.org" xmlns:sec="http://www.w3.org/1999/xhtml">

<th:block th:fragment="topbarFragment">

    <!-- Topbar -->
    <nav class="navbar navbar-expand navbar-light bg-white topbar mb-4 static-top shadow">

        .... 상단 코드 작성

    </nav>

</th:block>
</html>HTML
- 화면에서 상단(top)을 구성하는 코드를 작성합니다.
- footer.html
<!DOCTYPE html>
<html lagn="ko" xmlns:th="http://www.thymeleaf.org">

    <!-- Footer -->
    <th:block th:fragment="footerFragment">
        <footer class="sticky-footer bg-white">

            .... 하단(footer) 코드 작성

        </footer>
    </th:block>

</html>HTML
- 화면에서 하단(footer)을 구성하는 코드를 작성합니다.
- sidebar.html
<!DOCTYPE html>
<html lang="ko" xmlns:th="http://www.thymeleaf.org">

<th:block th:fragment="sidebarFragment">

    <!-- Sidebar -->
    <ul class="navbar-nav bg-gradient-primary sidebar sidebar-dark accordion" id="accordionSidebar">

        .... 사이드바 코드 작성

    </ul>

</th:block>

</html>HTML
- 화면에서 사이드바(sidebar)을 구성하는 코드를 작성합니다.
2. 프로젝트 실행
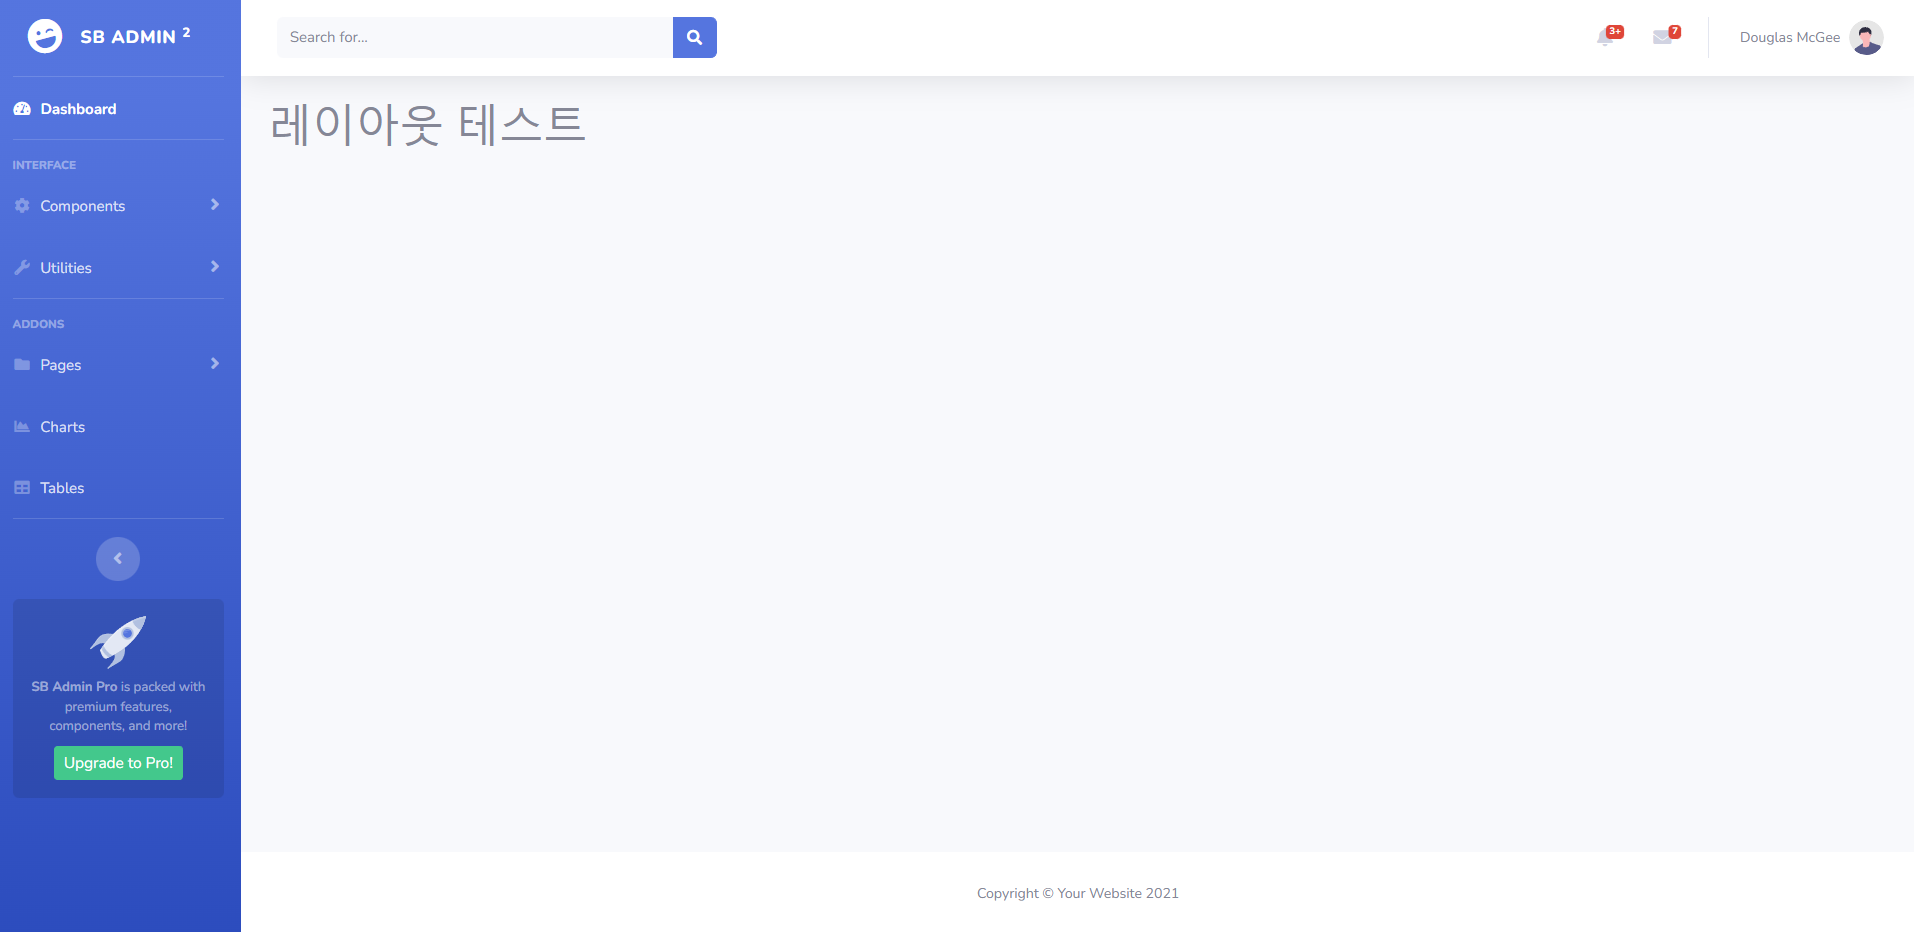
- 프로젝트를 실행합니다.
- index.html
<!DOCTYPE html>
<html xmlns:th="http://www.thymeleaf.org"
      xmlns:layout="http://www.ultraq.net.nz/thymeleaf/layout"
      layout:decorate="~{layout/layout}">
     <!-- layout:decorator="~{layout/layout}">-->

<th:block layout:fragment="content">
    <!-- Begin Page Content -->
    <div class="container-fluid">
        <h1>레이아웃 테스트</h1>
    </div>
</th:block>
</html>
- 상단에 layout:decorate="~{layout/layout}" 은 기본 레이아웃을 layout/layout.html 파일을 사용하겠다라는 선언하는 것 입니다.
(원래 decorator였지만, import가 안되서 변경 decorate로 수정 )
- <th:block layout:fragment="content"> 아래에 코드를 작성하게 되면, layout.html에서 content라는 부분에 위치하도록 합니다.
- 각 파일마다 content 아래에 코드를 작성하시면서 개발을 하시면 됩니다.
https://dev-jwblog.tistory.com/34
[SpringBoot] thymeleaf-layout-dialect 적용하기
이전 글에서 bootstrap 템플릿을 사용해서 페이지를 구성하였다. 하지만, 페이지마다 공통으로 사용하는 부분(사이드바, footer 등)에 대해서 일일이 찾아서 복사하며 개발하기는 시간이 오래걸린다
dev-jwblog.tistory.com
참고 블로그
'checkIn 프로젝트(SpringBoot)' 카테고리의 다른 글
| Spring Boot + JPA + Mysql 게시판 (1) 게시글 등록 (0) | 2023.01.07 |
|---|---|
| 프로젝트. Entity 만들기 (0) | 2022.11.03 |
| 프로젝트 패키지 특이사항 (0) | 2022.11.03 |
| 팀 프로젝트 기본세팅 (0) | 2022.11.03 |
| 팀 프로젝트 회사 근퇴관리프로그램 시작 (2) | 2022.11.03 |